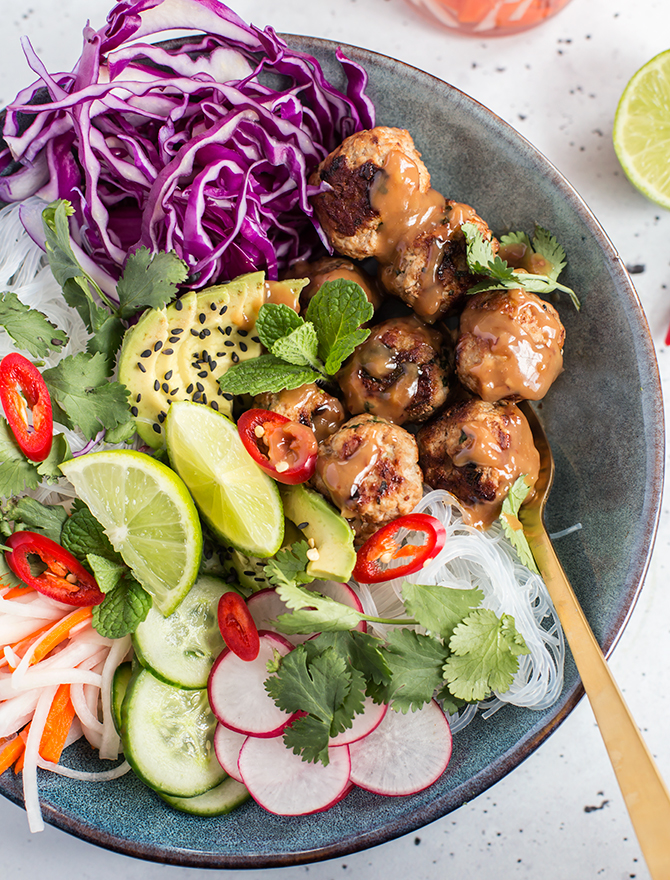
They say you eat with your eyes first, and this colourful Pork Meatball Banh Mi Salad Bowl just lights up my soul. Just look at those colours! It’s zero exaggeration to say I would happily eat it over and over every day and not get tired of it.
I’ve always loved salads like this with lots of colour and crunch, but prior to #bowlsofinstagram I didn’t care what they looked like. It may sound weird, but these days I actually love spending a few extra minutes making my salads and smoothie bowls look pretty, even if I’m not taking a photo of it for the ‘Gram or sharing it with anyone else. I’ve found a great pleasure in putting together a pretty, colourful meal just for me.
I grew up in an area of Sydney with a large Vietnamese population, and it has long been one of my favourite cuisines. I remember the scent of coriander on the bus as the girl in front of me ate her pork banh mi. As a kid, ham and cheese sandwiches were usually made on fresh Vietnamese rolls from the local bakery. I crave pho as comfort food just as much as I crave Mum’s spaghetti bolognese.
Last year I travelled to Vietnam for the first time, after it had been on my bucket list for years! The food in Saigon was hands down the highlight. I love the fresh, vibrant flavours of this cuisine, the crazy energy of the markets and the care and pride that goes into every dish. I wanted to capture some of that in this salad. It’s not necessarily traditional, but it is very delicious.
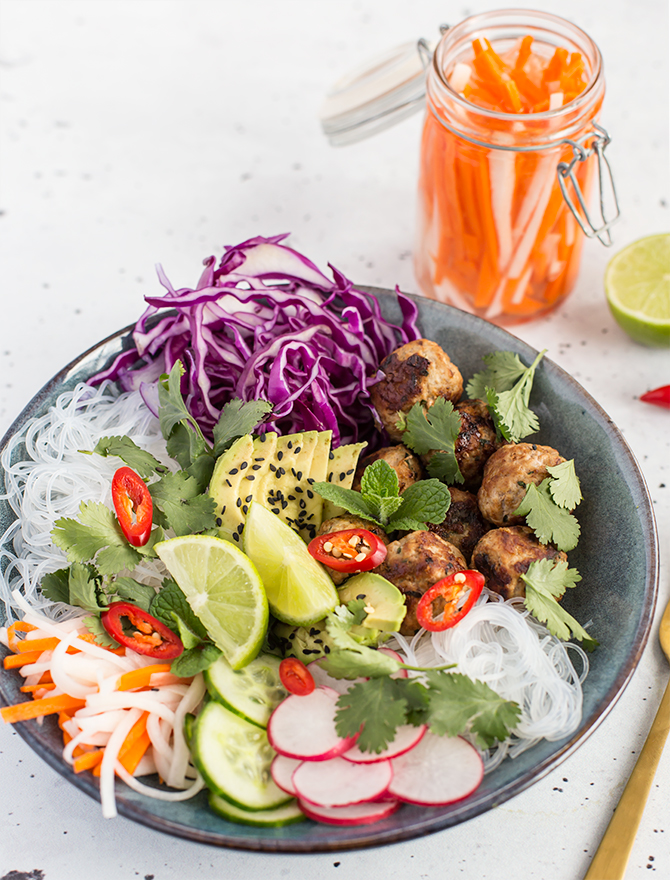
This dish consists of pork meatballs with plenty of fresh ginger and coriander, homemade daikon and carrot pickle, vermicelli noodles and my spin on satay sauce using almond butter. The salad is a rainbow of colour with red cabbage, radish, cucumber, avocado and chilli. It’s topped with loads of fresh herbs and chilli.
There’s a lot going on in this bowl, but the flavours are wonderfully balanced with freshness, acidity from the pickles and heat from the chilli. With so many different textural elements, it is really a joy to eat and no two bites are the same.
Of course, as with most of my recipes, feel free to take this and make it your own. Perhaps replace the meatballs with grilled chicken, salmon or prawns. Try grilled marinated tempeh or grilled firm tofu (and omit fish sauce) for a vegan Banh Mi Salad. I’m not vegan, but I think that would be freakin delicious. Add a scattering of roasted peanuts or fried shallots on top for extra crunch. Or change up the dressing from my ‘Satay-ish’ sauce to a more traditional Nuoc Cham.
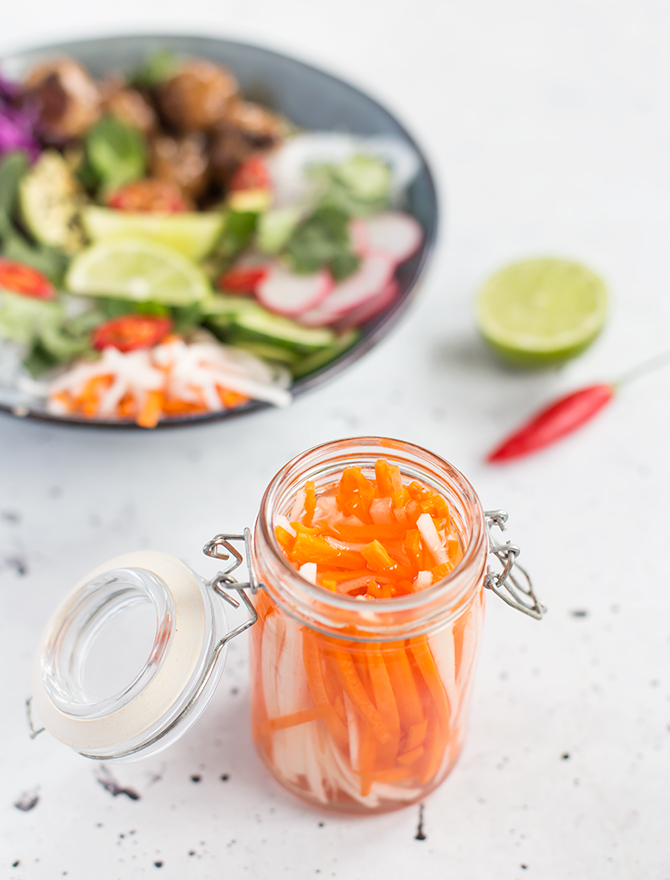
But whatever you do, please give the pickles a try! They could not be more simple, especially if you have a julienne tool. They really take the dish up to the next level. If you’re anything like me, you will want to eat this salad over and over, making it a perfect Simple Dinner.
Related Post: Spicy Pork and Tahini Noodles

Pork Meatball Banh Mi Salad Bowl
Pork Meatball Bahn Mi Salad Bowl is a delicious and colourful simple dinner inspired by the classic Vietnamese sandwich. The homemade pickles are simple to make and take this dish to another level.
Ingredients
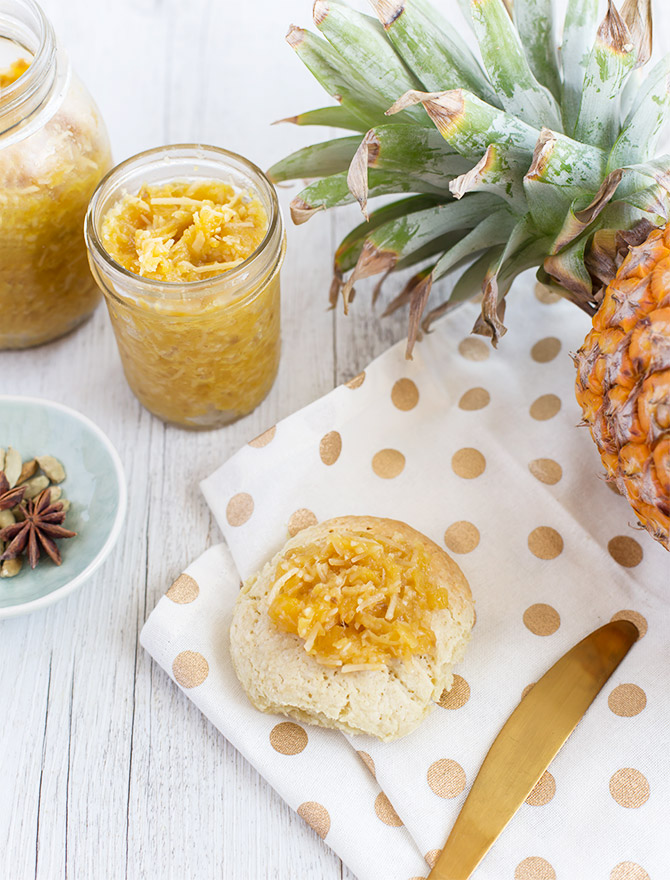
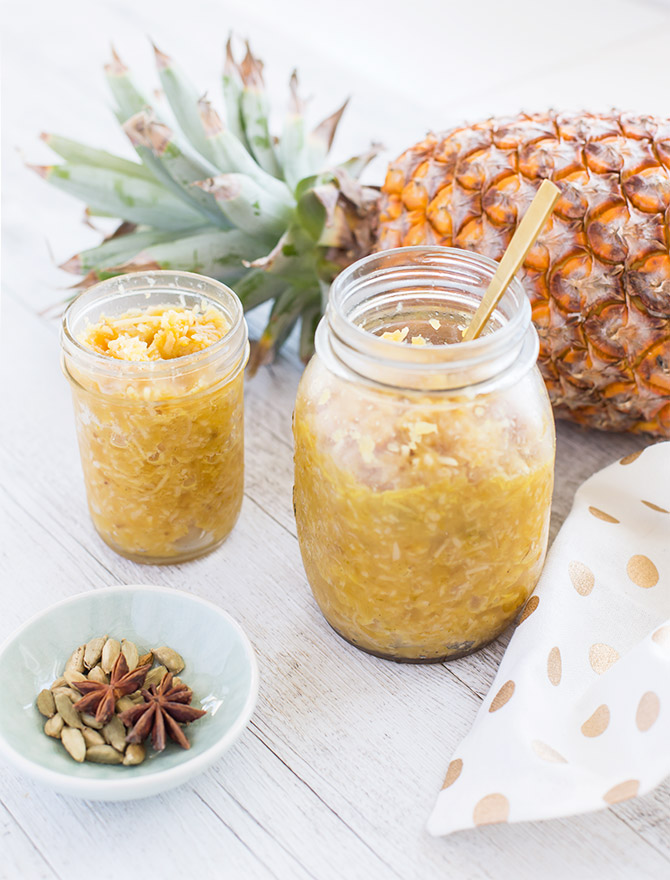
Banh Mi Pickles
- 1 daikon white radish
- 2 carrots
- 1 cup water
- 1/4 cup sugar
- 1 tablespoon salt
- 1/2 cup rice wine vinegar
Pork Meatballs
- 500 g pork mince, free range if possible
- 1 tablespoon ginger, finely grated on a microplane
- 1 clove garlic, minced
- 1 teaspoon soy sauce or tamari
- Coriander, chopped
- Salt & pepper
Satay-ish Sauce
- 2-3 heaped tablespoons almond butter (or tahini or peanut butter if you prefer)
- Juice of 1 lime
- 1 tablespoon soy sauce
- 1 teaspoon fish sauce
- Chilli, finely chopped, optional
- Hot water
Build your Bowl
- 1 packet vermicelli noodles
- Red cabbage
- 2 Avocadoes
- 1 Cucumber
- 4 Radishes
- Bahn Mi Pickles (recipe above)
- Lime
- Chilli
- Fresh herbs of your choice (I used mint and coriander)
- Black sesame seeds, optional
Instructions
-
To make the Bahn Mi Pickles, sterilise 1-2 jars depending on their size. I do this by filling my kitchen sink with boiling water and submerging the jars and lids for 5 minutes and then drying them in a low oven for about 10-15 minutes, or until they are completely dry. You can also use your dishwasher on its highest setting.
-
Peel and cut up the daikon and carrots julienne (thin strips like matchsticks). Combine the water, sugar, salt and rice wine vinegar and stir to combine until the sugar and salt have dissolved. Pack the vegetable matchsticks as vertically as possible into your jars, and top up with the pickling liquid. Seal the jars and set aside in the fridge for at least 30 minutes before using, but they are best after a day. Store in the fridge for up to 1 week.
-
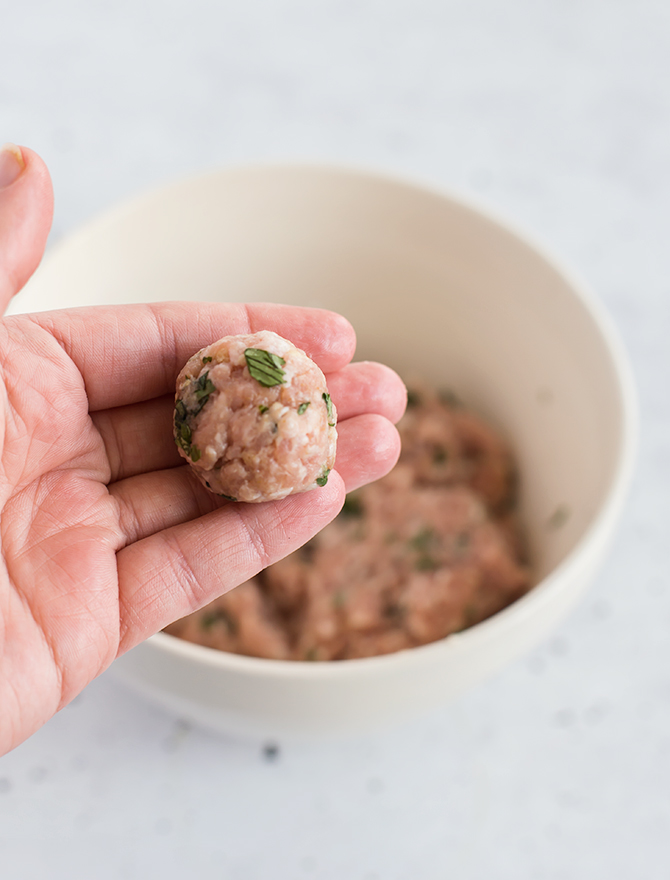
To make the meatballs, place the ingredients into a bowl and combine with your hands. Wet your hands and roll into balls. Cook in batches if necessary, in a medium frypan over medium heat until browned and cooked through.
-
To make the satay-ish sauce, stir together the almond butter, lime juice soy sauce, fish sauce and chilli if using. Add 1 tablespoon of hot water at a time until it reaches your desired consistency.
-
To assemble your bowls, finely chop your vegetables (red cabbage, cucumber, radishes, chilli etc) and herbs. Halve the avocados, thinly slice the flesh and carefully scoop out with a large spoon. Prepare the noodles according to packet instructions - mine said to soak in boiling water for 5 minutes and then drain.
-
Place the chopped vegetables, avocado, vermicelli noodles, your homemade pickles and the cooked meatballs into serving bowls. Scatter with herbs, chilli, black sesame seeds and lime wedges for garnish. Serve the sauce on the side or drizzle over the top.
-
If you’re making this for a dinner party, you could have all the ingredients prepped in the centre of the table and each person can build their own bowl.