I love desserts – that much is common knowledge around here. But I especially love desserts that have evocative and descriptive names, that really make you feel something. Red Velvet. Persian Love Cake. Black Forest. Bombe Alaska. Lemon Delicious. Even Cherry Pie – the most literal name ever, but just hearing the words paint pictures of old school Americana and brings back memories of summer.
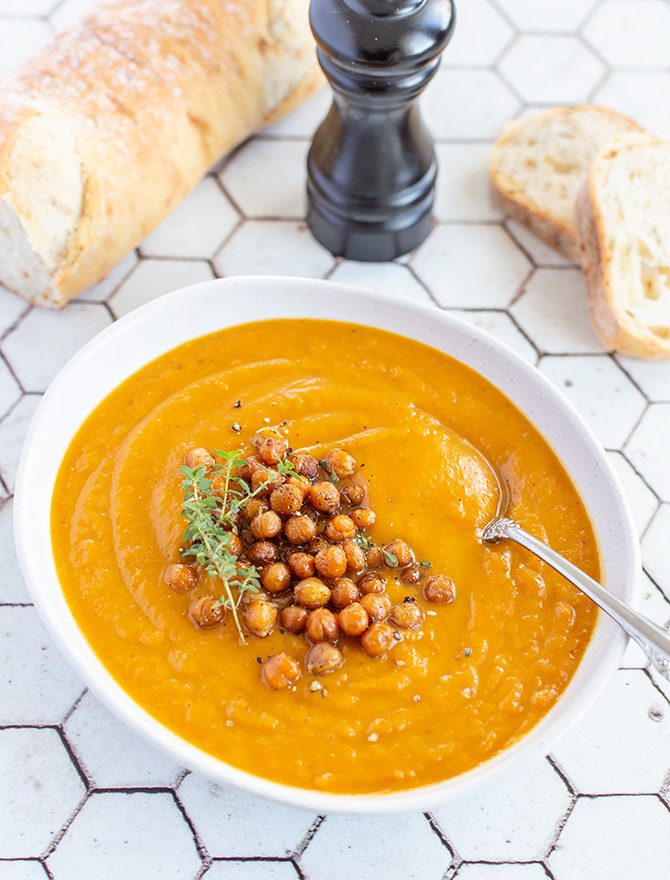
Lemon Delicious has long been one of my favourite winter desserts. I say it’s a winter dessert because it’s a warming and comforting pudding, but the flavour is bright and happy, zingy with citrus. It’s a little old fashioned, a lot nostalgic, and the perfect comfort food for cold nights.
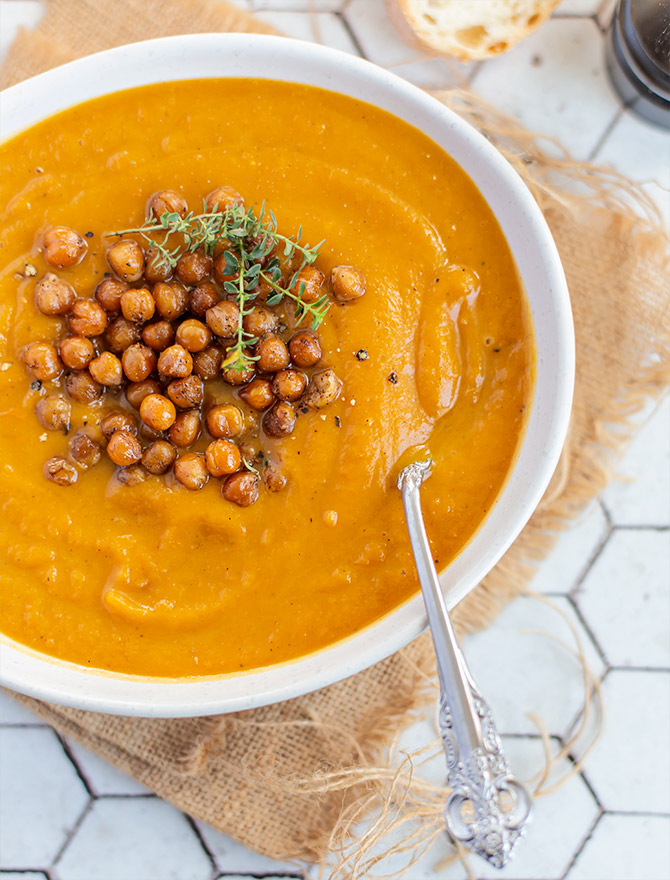
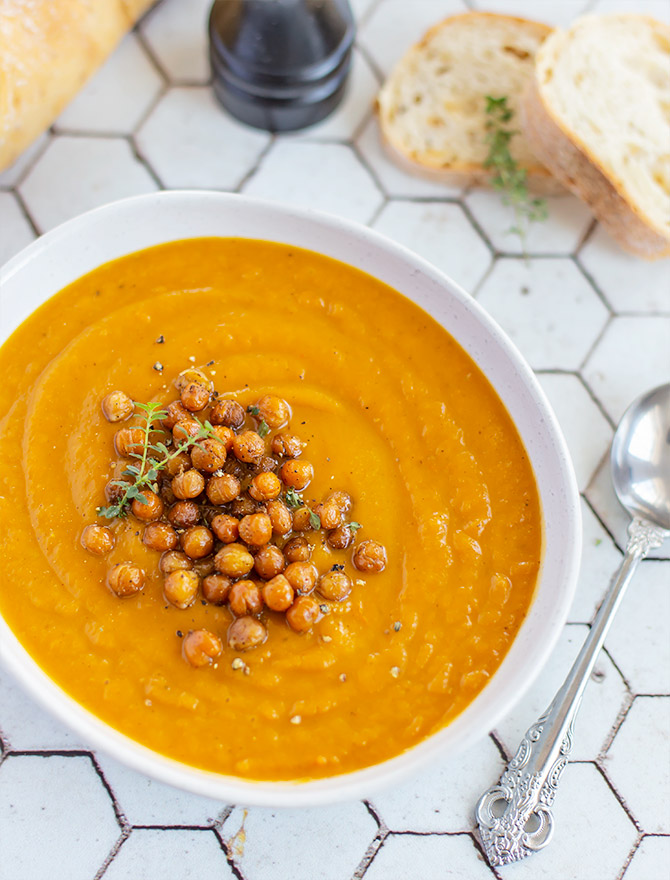
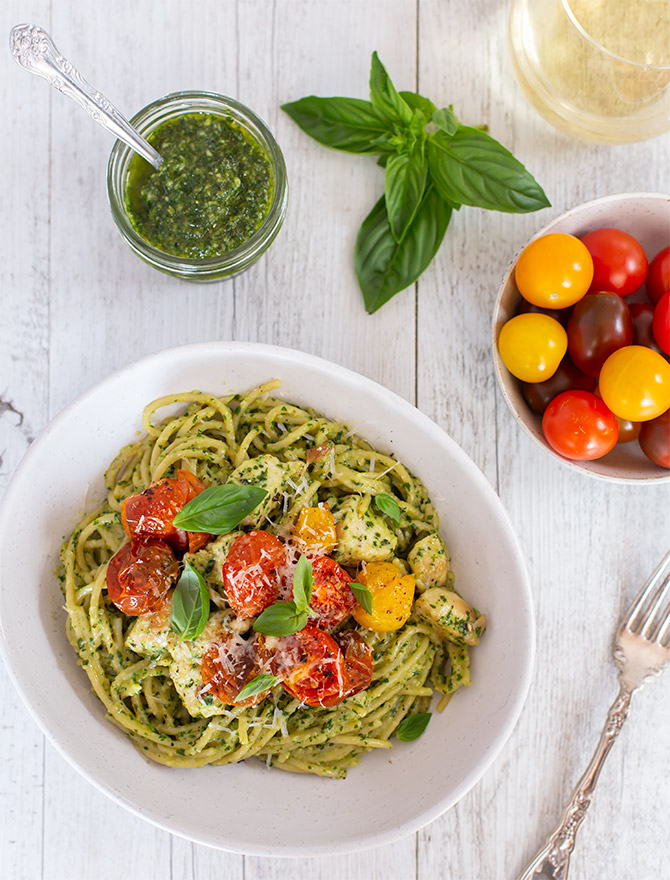
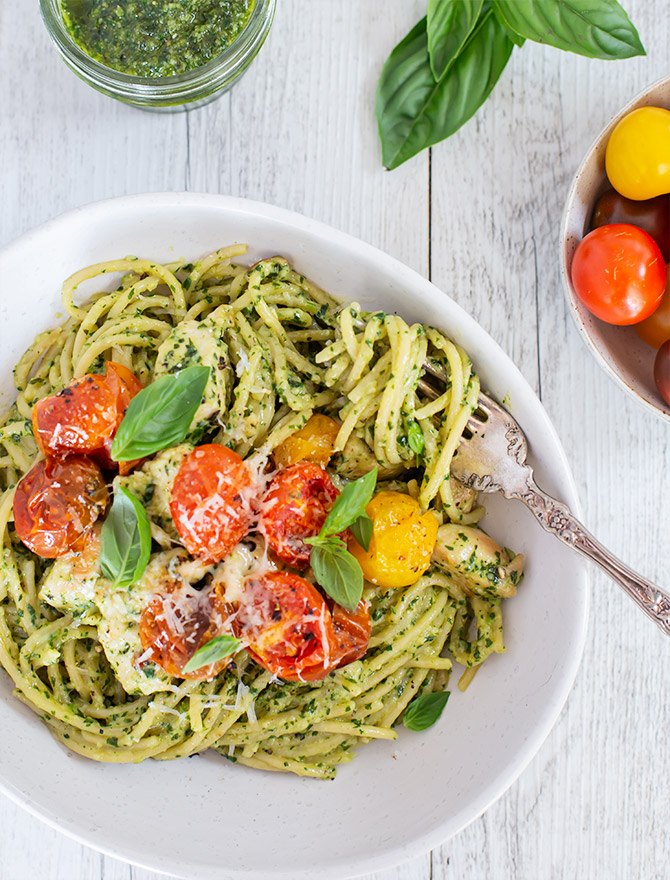
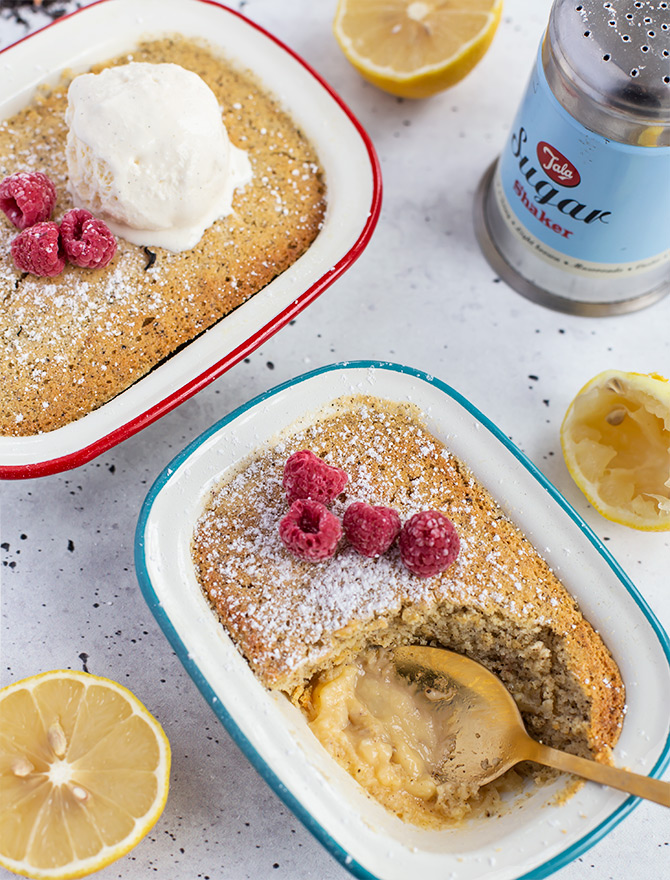
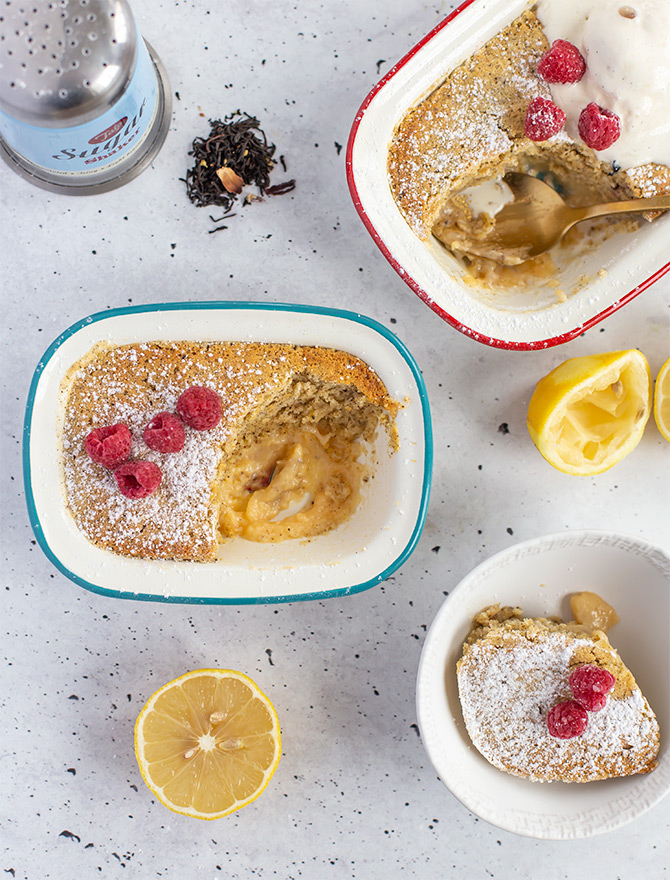
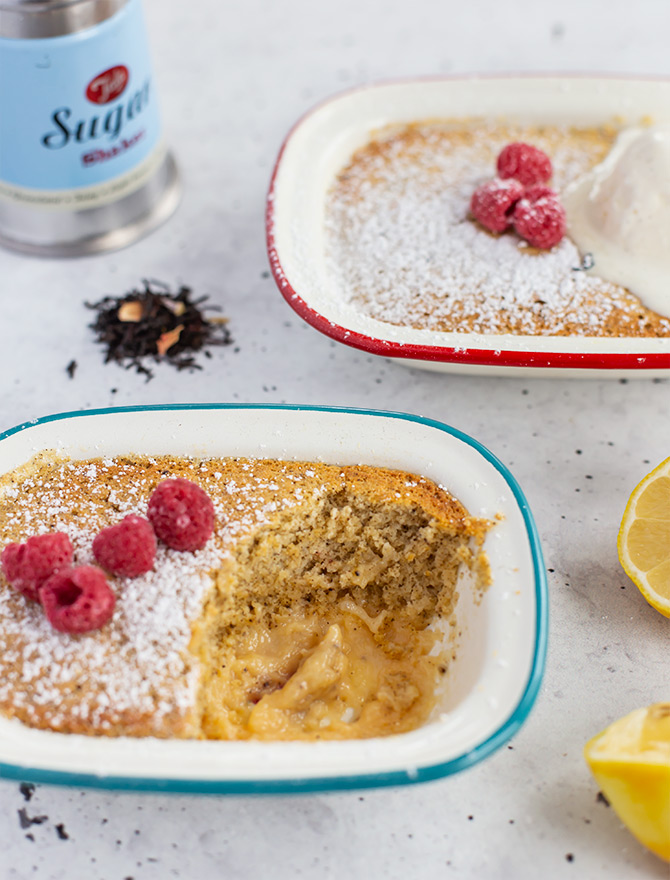
Even though the process is a little different, Lemon Delicious reminds me of a self-saucing pudding, because it goes into the oven as one batter, but as it bakes, two distinct layers form. On the bottom there is a lemony sauce and on the top there is a sponge-like cake. Traditional self-saucing puddings are usually chocolate or sometimes even butterscotch flavour. A Lemon Delicious is all about citrus – using the zest and juice for maximum lemoniness.
This time I decided to give it a little twist – a tablespoon of ground French Earl Grey tea in the mix. I already know it goes perfectly with lemon, so I had high hopes for this dessert and it didn’t disappoint. While the main flavour was definitely citrus, the Earl Grey gave a nice subtle, floral undertone that worked perfectly. If you want a stronger flavour, just add more ground tea.
French Earl Grey is one of my favourite ingredients to add to desserts. You can infuse it into ice cream or use it ground in chocolate chip cookies. I’ve also used the brewed tea in a rich chocolate cake or to soak dried fruit for a Christmas pudding. It might not spring to mind as an ingredient, but it’s very versatile in desserts.
I love T2 loose leaf French Earl Grey – both for baking and drinking – but feel free to use your favourite. I’ve got so many kinds of different teas, but French Earl Grey is one of my very favourites. I re-buy it over and over and panic a little if I’m running low. The floral hint of sunflower, rose and hibiscus is lovely with the black tea and classic bergamot.
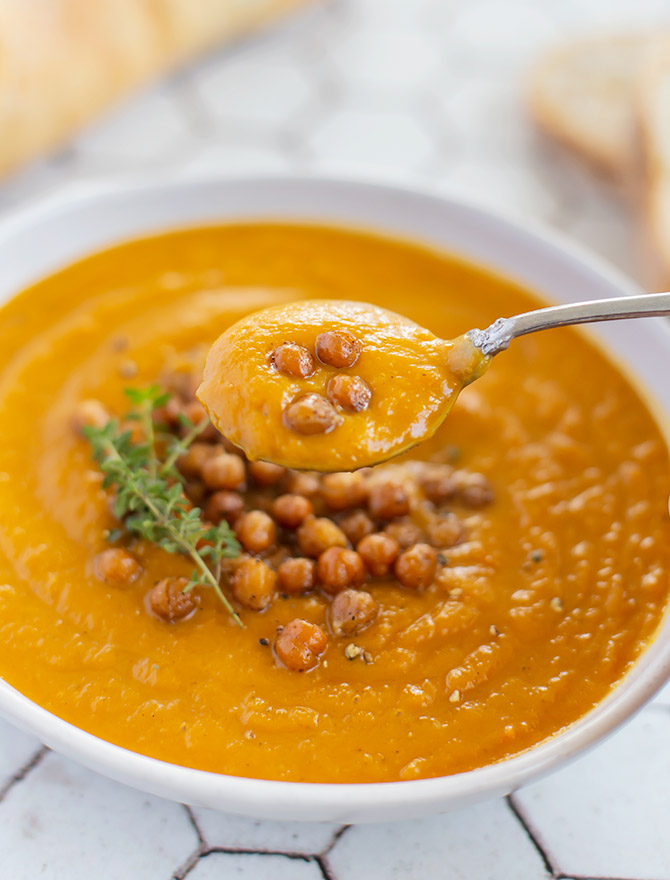
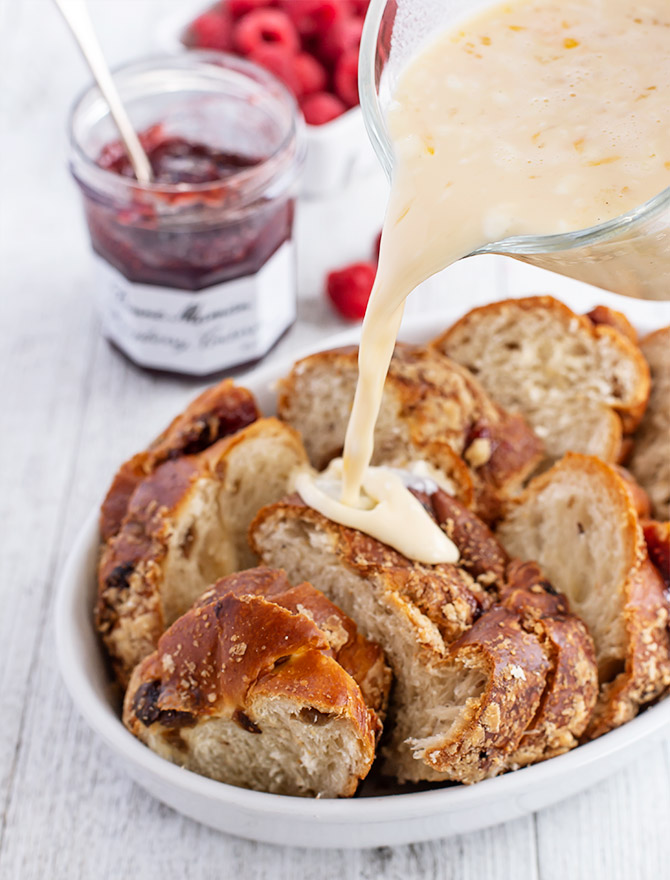
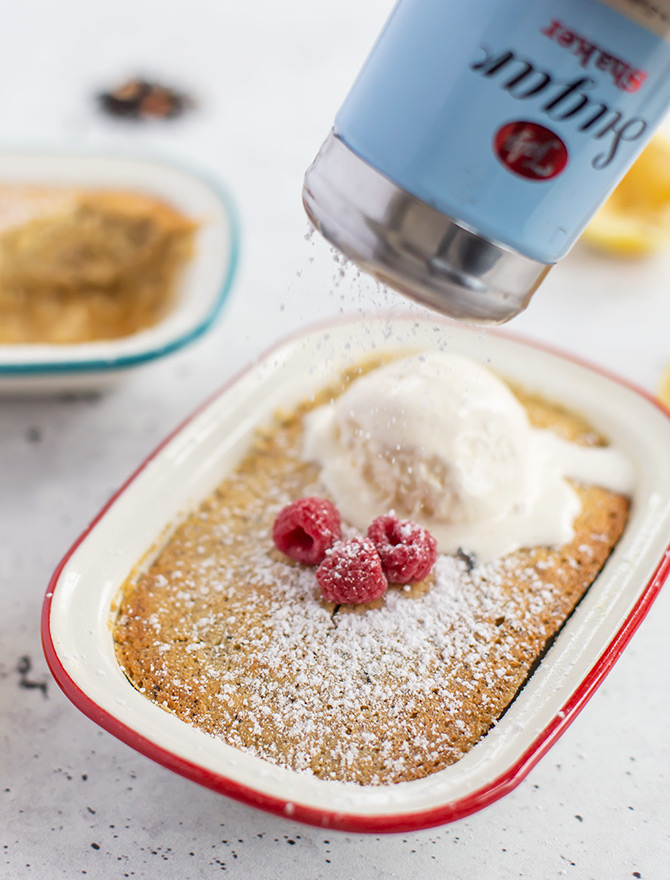
Lemon Delicious is really easy to make – most of the ingredients are just whisked together all in the one bowl, with the egg whites being folded in last. The trick to getting a lovely lemon sauce is not to overcook it. The top of your pudding should be golden but a little wobbly due to the sauce underneath.
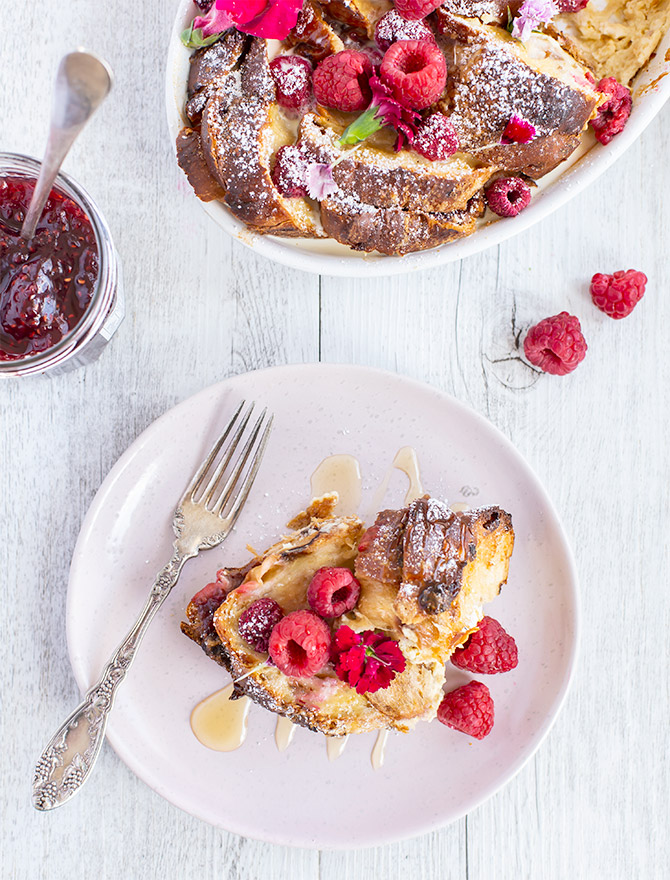
This pudding is cooked in a water bath, so make sure your baking dish will sit nicely inside a larger dish or tray before you start. You can make this recipe in one large enamel or ceramic dish to share or in individual 1 cup ramekins. Adjust the baking time a little depending on how large your pudding is. Start with 20 minutes and keep checking the oven every 10 minutes. I love to serve any kind of warm dessert with ice cream, but you could also use whipped or clotted cream, your choice of fresh fruit and definitely a good dusting of icing sugar. Happy baking!
Related Post: Earl Grey Chocolate Chip Cookies

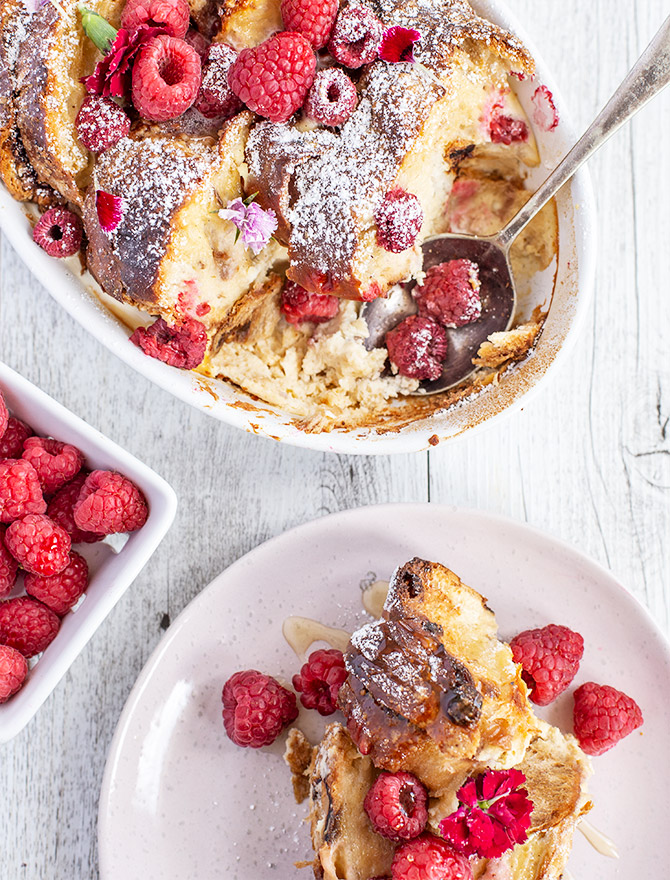
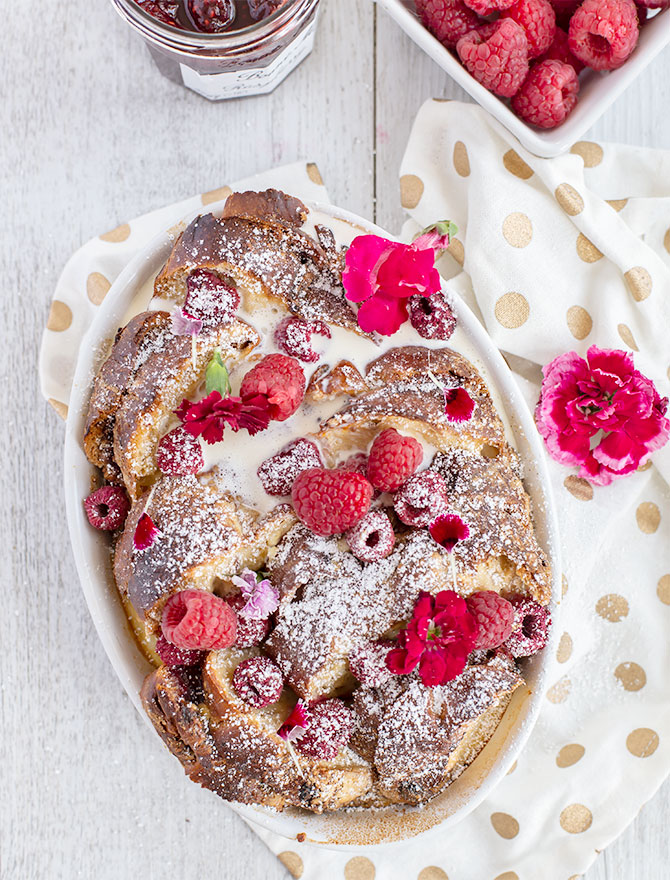
French Earl Grey Lemon Delicious Pudding
French Earl Grey Lemon Delicious Pudding is a delicious and comforting winter dessert, bright with citrus flavour and floral tea.
Ingredients
- 150 g butter, melted
- 2 teaspoons lemon rind, finely grated
- ½ cup lemon juice
- 1 cup sugar
- ¾ cup self raising flour
- 1 cup milk
- 1 tablespoon French Earl Grey Tea, ground
- 4 eggs, separated
- Icing sugar, ice cream and raspberries, to serve
Instructions
-
Preheat the oven to 180°C (350°F). Grease an oven proof dish (I used two enamel dishes but I’ve also made this in 6 x 1 cup ramekins).
-
Place butter, lemon rind, lemon juice, sugar, flour, milk, ground tea and egg yolks in a large bowl. Whisk to combine.
-
In a separate small bowl, beat egg whites using an electric mixer until soft peaks form. Fold a quarter of the egg white in to the lemon mixture until combined. Gently fold in remaining egg white.
-
Spoon mixture into prepared dishes. Place dishes in a large baking tray and pour boiling water carefully into the baking dish until halfway up the sides of the smaller dish. (I open the oven, put the baking tray onto the oven rack and then pour the boiling water in to avoid having to carry a heavy tray filled with hot water).
-
Bake for 20-25 minutes or until golden and just set. Serve warm with cream or ice cream, raspberries and a dusting of icing sugar.